Wood Inlay
|
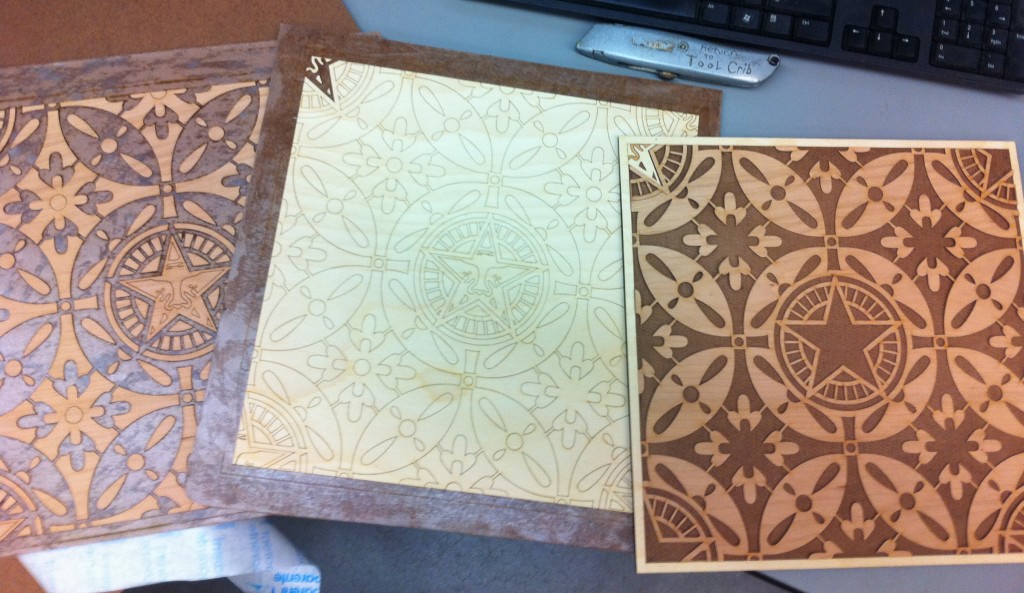
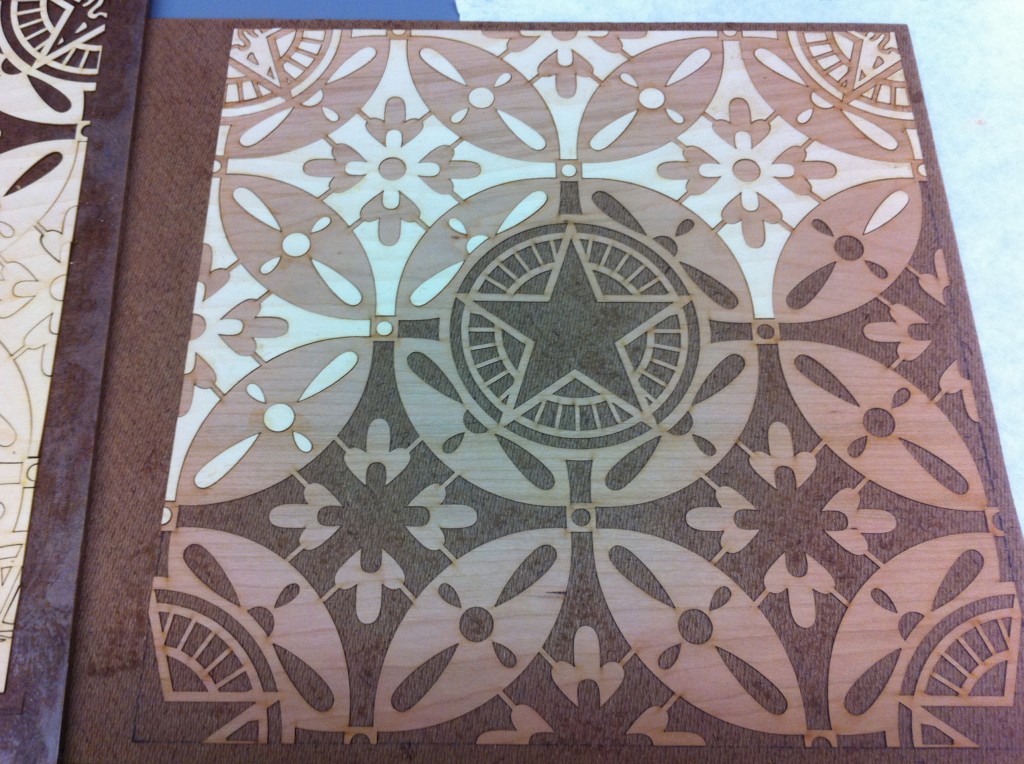
As part of my job at the University of Minnesota Department of Art I have wonderful opportunities to do research and create demos for students. So on my down time this summer I created a laser cut wood inlay example. For the demo piece I chose to use a Shepard Fairey design. I thought the design would work well because it was a two tone design and it also showed how you can create both patterned inlays and illustrative based inlays.
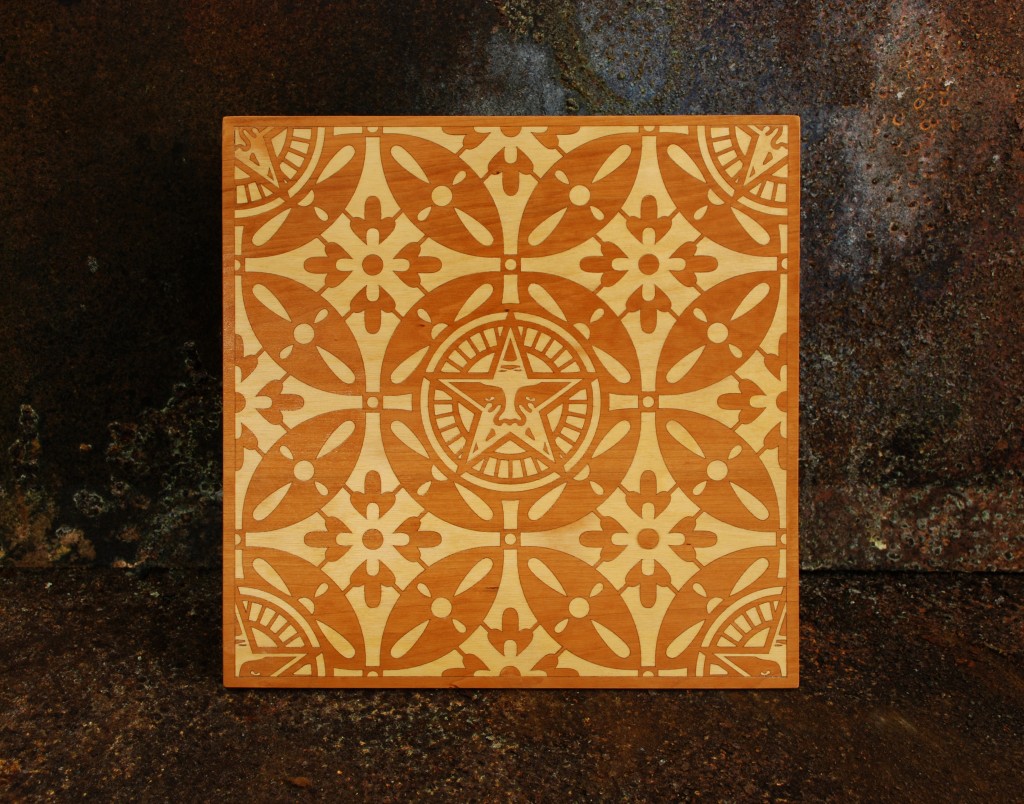
I also learned that it takes a substantial amount of time to individually glue the pieces. So, as a solution to this problem, I placed the cut out pieces onto a piece of contact paper with the back facing up, picked out the parts of the design that were not needed with an xacto knife and then used a paint roller to apply wood glue to the back side. This saves a lot of time and because you have two sets of inlays, a positive and a negative, they both will register perfectly. For this demo piece I chose to use Masonite as a substrate for the inlay to glue on. I was told that you want to use a uniform material like Masonite, MDF or a solid piece of wood. If you use a sheet of plywood, over time, the extra layer will warp the plywood because there will no longer be even tension on the laminations. The image below shows the final piece; linseed oil, Arm-R-Seal and polyurethane were used to finish the wood.
|


